How to Change Guitar Strings: 5 Easy Steps

Janvi Arora
- 28 August, 2024
- 7 min read

Table of Contents
For a lot of guitarists out there, changing guitar strings is their worst nightmare; they try to keep it off as long as possible, but no matter how long you try to hold off your old strings, sooner or later, the time comes to make the replacement.
Now, you might be wondering how I know if I need to change my guitar strings. How should I be locking my strings in the right place? What are some necessary tools for installing new strings? Well, hold your horses for a second, and we will answer all your unfathomable questions one by one in this blog.
Today, we will answer one of the most commonly asked questions by guitarists worldwide: “How To Change Guitar Strings?” We will also share vital information that will make the process of removing and installing new strings more streamlined and less difficult.
In the meantime, if you have any doubts regarding the various guitar techniques, you can check out the guitar lessons on Torrins and learn from top instructors!
What are Guitar Strings?
If you think of guitars as human, then their strings are the lungs that make them alive. Strings are the most crucial part of the guitar. You will interact with guitar strings only when you are creating music. If there are no strings, a guitar is nothing but simply a wooden showpiece. No matter if it has all the other necessary parts, it is still unusable and can’t create music.
Tools You Will Need to Change Guitar Strings
If you have been playing guitar for a while now, we are sure you may have changed your string without using any tool, and that’s completely fine. As long as you are setting them up in a proper manner, you don’t need to have tools.
On the other hand, for an accustomed guitarist, the process of changing strings is a piece of cake, but for others, it isn’t easy. As a result, for beginners, the required set of tools are:-
- Wire cutters
- Pliers
- Peg winner
- Polish Cloth
How to Change Guitar Strings in 5 Easy Steps
i. Preparing Your Guitar
The very first thing you need to do is start loosing up the strings by unwinding them from the headstock of the guitar. Use the tuning keys to lower the tension slowly; you have to move the keys in the direction where you can hear the sound of the string getting heavier and the pitch getting lower; in most of the guitars, it is clockwise. Make sure you are listening to the sound of the string as you are unwinding it; without sound, it becomes challenging to know whether you are tightening the string or losing it.

Also, it is recommended that you do not take all 6 strings at a time. If you take or cut all of them at once, you will get confused about the order of the new ones. As a result, unwind the thickest string first and replace it with a new one. Keep on repeating the process until all 6 strings have been replaced correctly.
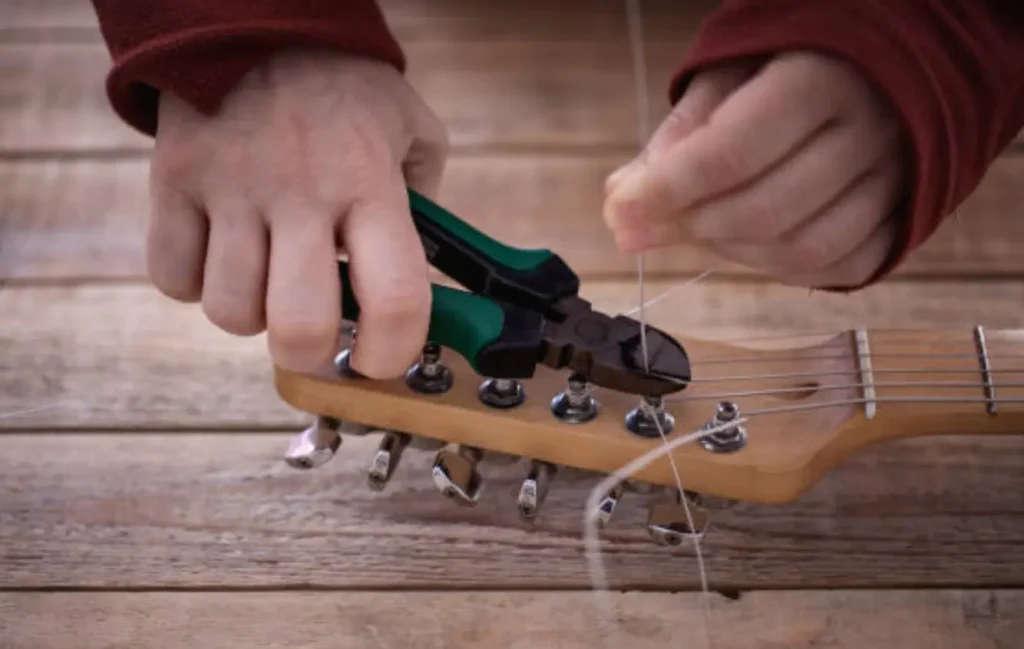
ii. Removing the Old Strings
We know this may seem the obvious next step, and you know it already, but here’s a thing: if you don’t do it properly, you might permanently damage your guitar. So here’s a quick guide on how to do it by the books:-
- First, unwind the string you want to change. Then, keep turning the tuning key while playing the string until it stops producing sound.
- Now you need to cut the strings from the 12th fret and then remove the string from the tuning keys; you need to remove string pins as well using the cut-out in your Window Tool or pliers, whichever tool you are using at that moment.
- Repeat the process for all the six strings.
iii. Cleaning Your Guitar & Fretboard
Now, when the strings are out of the picture, you can clearly see the dust, nail marks, and other battle scars on your fretboard. If you are running late, you can skip this step, but if you have time, cleaning the fretboard will ensure that the wood used in making it stays healthy.
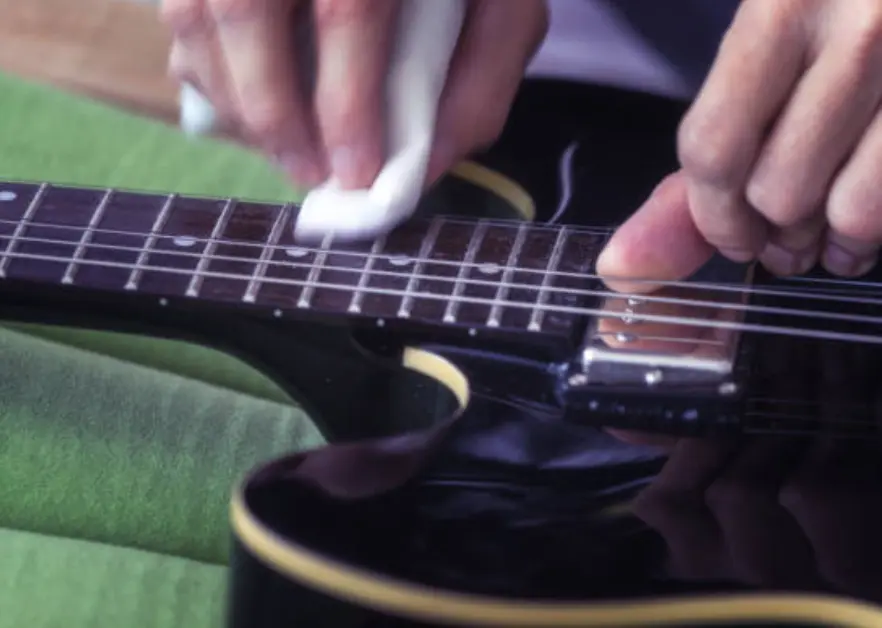
In addition to this, you can use any form of cleaner to clean the gaps and bridges of the fretboard; the entire cleaning process will only take about 5 minutes. Also, if you want to polish your guitar, now is the time to do it; otherwise, after putting on the strings, it’s going to be much harder to reach certain areas of the fretboard.
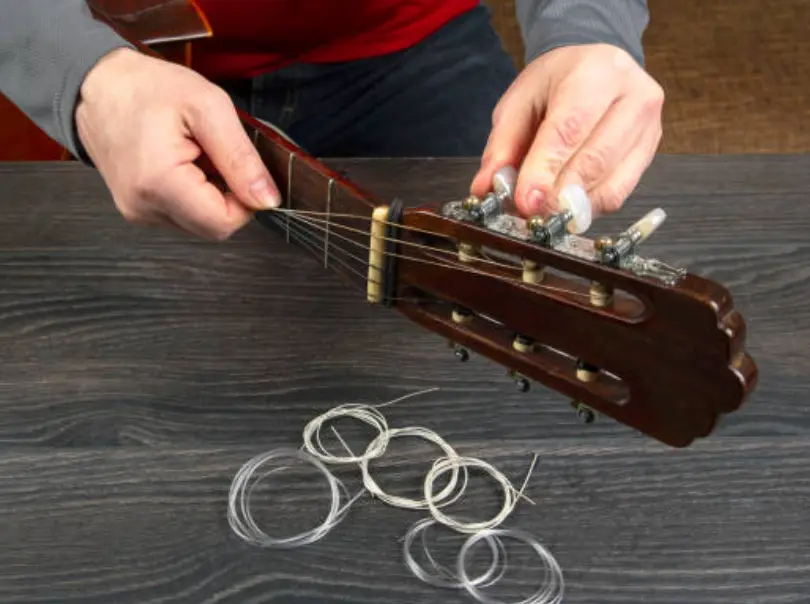
iv. Installing the New Strings
After cleaning the fretboard and your guitar, the next challenge is to put your strings in the right place. Start from the left side of the fretboard to the right, meaning start with the thickest string and then move to the thinnest one. See, with the proper technique, you can install the strings in less than 15 minutes and here’s what you need to do:-
a. Inserting the New Strings
To get things started, you first need to put the strings on the bridge. This is pretty easy, but lots of beginners skip this part and make things difficult for themselves.

b. Winding the Strings
Now, you have to kink the new strings that you have already placed in the bridge. Make sure to leave at least 2 to 3 cm of each string’s length from the ball. You need to feed the nut with the ball side of the string. Then, start winding the string using the tuning key dedicated to each string.
When putting on new strings, make sure you give some extra slack in the portion of the string between the bridge and the nut. To hold the string so it doesn’t slip out of the nut, you have to gently hold the strings in their right place on the bridge of the guitar.
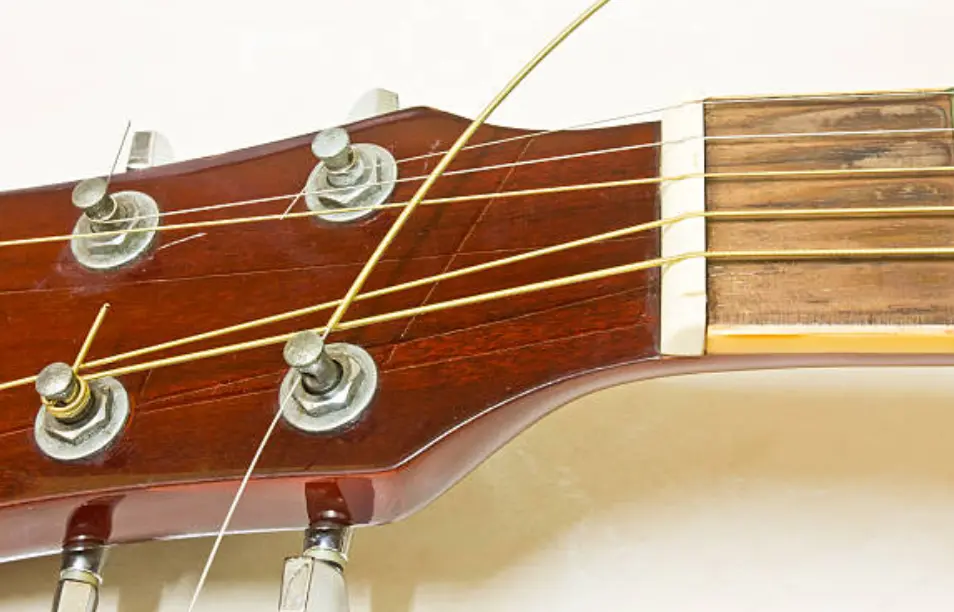
c. Cutting Excess String
Use the pair of wire cutters, which you can easily find on most of the pilers, to quickly cut off the loose ends of the strings. If you have properly followed all the instructions, your strings won’t be moving, and you can cut them up close.
v. Tuning the New Strings
Once you set up your new strings, the only thing you need to do is use a guitar tuner to tune each string up to the required pitch. Even after you are done with the tuning, you have to repeat the process once every week for some time because strings will have a lot of tension, and slowly, they will move to tune keys from the tuned position.

Tips for Maintaining Your Guitar Strings
When you install new strings, it is essential to take care of them as well, so every once in a while, you should take a microfiber cloth to clean your guitar strings. On the other hand, use the same cloth to wipe down your strings after every practice or playing session to keep them free of grime and delay the natural oxidation process, which results in the breaking of your strings. That’s the only thing you should be doing to make your strings last long. Know more about guitar string names here. You can also read about other guitar accessories here.

Conclusion
So there you have it. Now, you don’t have to worry about changing your strings; it can be done with ease if you follow our guidelines. See, for the first-timers, we would like you to be a little cautious in terms of handling strings. Once you have changed strings more than a few times, you will be able to do it in 5 to 10 minutes, and that too with perfection.
If you want to do more than just change the guitar strings, make sure to check out Guitar Song Lessons from Torrins. On our platform, we have online lessons for piano, bass, and guitar, led by experts from all over the world.